DVWA Deployment
1. Prerequisites
VM Specifications:
- OS: Ubuntu 20.04/22.04
- CPU: 1+ vCPU
- RAM: 2 GB
- Disk: 100 GB
- Network: Public IP
- Firewall: Open ports 80 (HTTP), 443 (HTTPS), and 22 (SSH)
Software Requirements:
- Apache2
- MariaDB 10.3+ / MySQL 5.7+
- PHP 7.4+ or 8.0+ (with
php-mysqli,php-gd,php-jsonextensions) - Git
Domain and DNS:
- Registered domain (e.g.,
dvwa.example.com) - Access to DNS settings for A record configuration
2. Deployment Steps
Step 1: Server Setup
-
Update System Packages:
bash

sudo apt update && sudo apt upgrade -y -
Install Required Packages:
bash

sudo apt install -y apache2 mariadb-server php php-mysqli php-gd php-json libapache2-mod-php -
Verify PHP Version
Ensure PHP version higher than 7.4 is installed.
bash

php -v
Step 2: Database Configuration
-
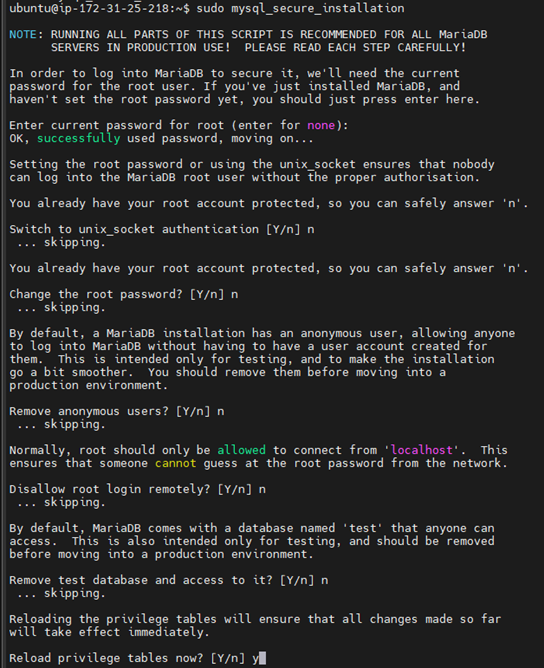
Secure the Database:
bash

sudo mysql_secure_installation
Follow the prompts to set a root password and configure the default configuration.
-
Create a new database and user for DVWA:
Create Database and User:
sql

CREATE DATABASE dvwa;
CREATE USER 'dvwa_user'@'localhost' IDENTIFIED BY 'YourSecurePassword123!';
GRANT ALL PRIVILEGES ON dvwa.* TO 'dvwa_user'@'localhost';
FLUSH PRIVILEGES;
EXIT;
Copy and paste the above SQL command into the command window. Then, change the database name, user, and password to your preferred values.
Step 3: DVWA Installation
-
Clone DVWA Repository:
bash

cd /var/www/html
sudo git clone https://github.com/digininja/DVWA.git
sudo chown -R www-data:www-data DVWA -
Update file ownership to the web server user.
Configure DVWA:
bashCopyEditsudo cp /var/www/html/DVWA/config/config.inc.php.dist /var/www/html/DVWA/config/config.inc.php
sudo nano /var/www/html/DVWA/config/config.inc.php
Update the following parameters. You have to replace the database, user and password if you edited the SQL command with your preferred value in step 2:
phpCopyEdit$_DVWA['db_server'] = 'localhost';
$_DVWA['db_user'] = 'dvwa_user';
$_DVWA['db_password'] = 'YourSecurePassword123!';
$_DVWA['db_database'] = 'dvwa'; -
Copy the sample configuration file and edit the database credentials.
Step 4: Domain and Apache Configuration
-
Create a DNS A record pointing to the VM’s public IP.
In your domain registrar’s dashboard (e.g., Cloudflare, GoDaddy), add an A Record:
-
Name: dvwa (to create dvwa.example.com)
-
Value: Your VM’s public IP
-
TTL: 3600 (default)
-
-
Configure the Apache virtual host:
bash

sudo nano /etc/apache2/sites-available/dvwa.conf
Add the following :
apache

<VirtualHost *:80>
    ServerName dvwa.example.com
    DocumentRoot /var/www/html/DVWA

    <Directory /var/www/html/DVWA>
        Options Indexes FollowSymLinks
        AllowOverride All
        Require all granted
    </Directory>

    ErrorLog ${APACHE_LOG_DIR}/dvwa_error.log
    CustomLog ${APACHE_LOG_DIR}/dvwa_access.log combined
</VirtualHost> -
Enable the site and restart Apache:
bash

sudo a2ensite dvwa.conf
sudo a2enmod rewrite
sudo systemctl restart apache2
Step 5 : Finalise Installation
-
Access DVWA at
http://dvwa.example.com(replace with your domain). -
Login with:
- Username: admin
- Password: password
-
Click Create/Reset Database to initialise tables.